
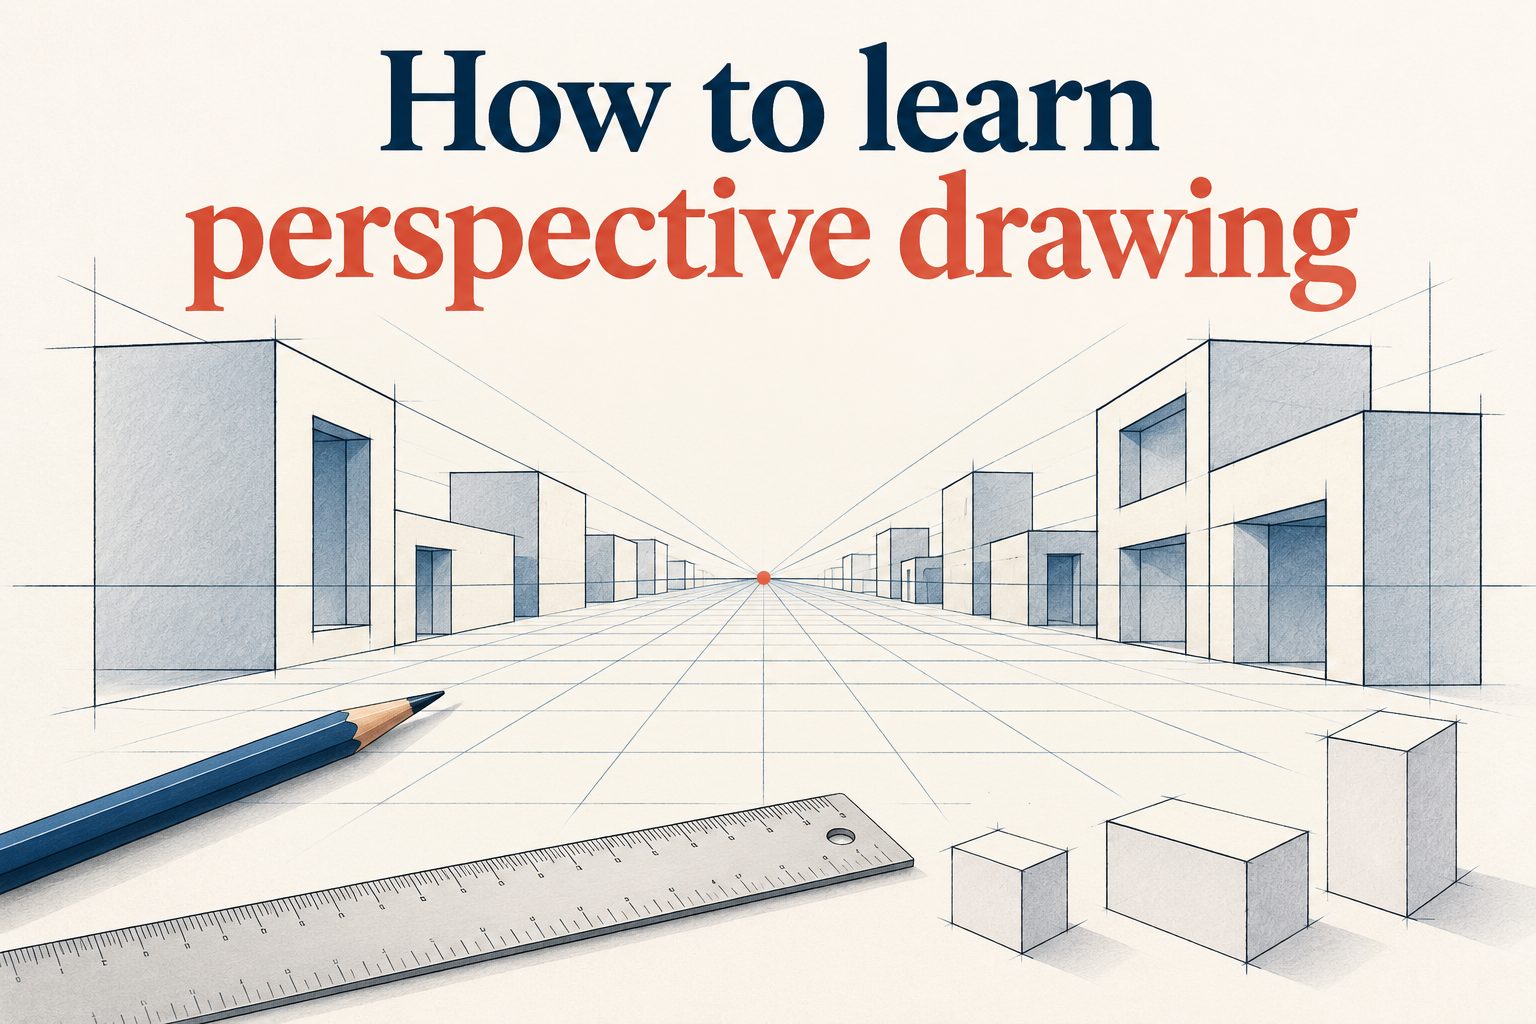
If you have ever wondered how to learn perspective drawing without feeling overwhelmed, you are not alone. Many beginners love drawing but struggle when their buildings look tilted, their rooms look flat, or their characters do not fit naturally into a scene. Perspective is the skill that fixes those problems by showing how objects shrink, overlap, and angle as they move away from the viewer.
In this complete guide, you will learn what perspective drawing means, why it matters, which tools you need, and which simple exercises actually work. I will walk you through one-point, two-point, and three-point perspective, daily practice methods, common mistakes, best practices, and advanced tips. By the end, you will have a clear and realistic path to draw believable depth with confidence.
Why Perspective Drawing Matters For Artists
Perspective drawing gives your artwork structure, believability, and depth. It teaches you to see the world as shapes in space rather than flat outlines on paper.
Without perspective, even beautiful line work can look wrong because proportions and angles do not match how our eyes perceive reality.
With solid perspective skills, you can draw streets, interiors, landscapes, vehicles, and characters that feel grounded and correctly placed in their environment.
The good news is that perspective is a learnable system, not a talent. Once you grasp horizons, vanishing points, and measuring, steady improvement comes quickly.
Whether you want to illustrate comics, design environments, paint landscapes, or sketch for fun, perspective will make every drawing stronger and more professional.
Core Perspective Drawing Concepts For Beginners
Before you draw complex scenes, you need a clear grasp of the basic building blocks that control all perspective drawing systems.
1. Horizon Line And Eye Level Basics
The horizon line represents your eye level and controls how you view the entire scene from above, below, or straight ahead. When the horizon is high, you look down on objects, and when it is low, you look up at them. Keeping this line consistent is essential for believable perspective drawing in every sketch you create.
2. Vanishing Points And Convergence Rules
Vanishing points are spots on the horizon where parallel lines appear to meet as they move into the distance. All receding edges of boxes, roads, and buildings should angle toward these points. Learning to project lines accurately to vanishing points will immediately improve the realism and structural correctness of your perspective drawing practice sessions.
3. Orthogonal Lines And Depth Guides
Orthogonal lines connect the front edges of objects back to vanishing points and define how deep forms extend into space. These guides help you judge the length of walls, tables, and hallways correctly. By drawing them lightly at first, you can build accurate boxes and rooms while keeping your perspective drawing clean, adjustable, and easy to correct.
4. Picture Plane And Viewer Position
The picture plane is like an imaginary window between you and the subject that determines scale, distortion, and framing. Moving closer enlarges objects and increases distortion, while stepping back flattens the view. Thinking about viewer position helps you choose stronger compositions and avoid awkward angles in your perspective drawing projects.
5. Foreshortening And Scale Change
Foreshortening happens when forms point toward the viewer and appear compressed, such as an arm reaching forward or a street running downhill. Objects also become smaller and closer together with distance. By observing these scale changes carefully, you will create more convincing depth and movement in all your perspective drawing studies.
6. Atmospheric Perspective And Value Shifts
Atmospheric perspective describes how distant objects look lighter, cooler, and less detailed because of air and light. Even without strict lines, softer edges and paler values push backgrounds back. Combining linear perspective with atmospheric value shifts will add airy depth to landscapes and cityscapes and strengthen your overall perspective drawing realism.
Tools You Need For Learning Perspective Drawing
You do not need expensive supplies to start. These simple tools will keep your lines accurate and your practice consistent.
- Ruler And Straightedge: Essential for connecting edges cleanly to vanishing points and keeping architectural lines straight.
- Sketchbook With Smooth Paper: Helps you draw light construction lines, erase easily, and track daily progress in one place.
- Graphite Pencils And Eraser: Use hard pencils for guides and softer pencils for final dark edges and shading.
- Fineliners For Final Work: Great for committing to clean perspective lines after your pencil underdrawing is correct.
- Digital Drawing App: Useful for perspective grids, layers, undo options, and fast experimentation with viewpoints.
Step By Step Perspective Drawing Guide For Beginners
Follow these ordered steps to build confidence gradually without jumping into complex scenes too early.
- Draw Horizon And Vanishing Point: Start with a light horizontal line and mark one point for simple one-point studies.
- Add Front Facing Shapes: Draw squares or rectangles facing you to establish the closest face of each object.
- Connect Corners To Vanishing Point: Use a ruler to project light receding lines from each corner backward.
- Set Depth And Close Forms: Choose where each box ends and draw the back edge parallel to the front face.
- Build Simple Objects: Turn boxes into tables, houses, beds, bookshelves, and basic rooms using the same method.
- Check Angles And Proportions: Compare verticals, horizontals, and convergence to spot歪 leaning lines and fix them early.
- Darken Final Lines And Shade: Erase guides, strengthen correct edges, and add light shading to show volume and depth.
Popular Types Of Perspective Drawing To Master
Each perspective type solves a different viewing problem. Practice them in order so skills build naturally on each other.
1. One Point Perspective For Simple Views
One-point perspective uses a single vanishing point and is perfect for roads, rail tracks, hallways, and rooms viewed straight on. Front faces stay true in shape while sides recede to the center. This method is the easiest entry into perspective drawing and builds strong habits for measuring depth, spacing objects, and keeping verticals straight.
2. Two Point Perspective For Corner Views
Two-point perspective shows an object from its corner with two vanishing points on the left and right horizons. It is ideal for houses, boxes, cars, and street corners. Vertical lines stay vertical while both side sets converge outward. Mastering this approach will dramatically improve your ability to rotate objects believably in perspective drawing scenes.
3. Three Point Perspective For Dramatic Angles
Three-point perspective adds a third vanishing point above or below for looking sharply up at skyscrapers or down from a rooftop. Verticals now converge instead of staying straight, creating drama and height. Use it sparingly for dynamic views, and keep the third point far away to avoid extreme distortion in your perspective drawing compositions.
4. Four Point And Curvilinear Perspective Views
Four-point and curvilinear perspective mimic wide, fisheye-like vision with curved convergence, useful for panoramic sketches and immersive scenes. Straight lines bend as they approach the edges of vision. While not needed daily, experimenting with curves trains your eye to handle extreme fields of view and expands your creative perspective drawing toolkit.
5. Atmospheric Perspective For Outdoor Depth
Atmospheric perspective relies on color, value, and detail rather than vanishing points to show distance in nature. Mountains become bluer and paler, while foreground trees stay dark and sharp. This technique is vital for landscapes where strict grids feel stiff. Pair it with linear structure to achieve rich and natural perspective drawing depth.
6. Isometric And Oblique Drawing Methods
Isometric and oblique methods keep parallel lines parallel without vanishing points, which is helpful for game art, diagrams, and design concepts. They are easy to measure and build, though less realistic. Learning them alongside true perspective helps you choose the right system for each project and strengthens your overall perspective drawing flexibility.
Easy Perspective Drawing Exercises To Try Daily
Short, focused drills work better than occasional long sessions. Use these exercises to train accuracy and observation every day.
1. Draw Boxes In Different Positions
Fill a page with cubes placed above, below, and on the horizon line using one and two vanishing points. Vary their size, rotation, and distance from the viewer. This fundamental drill builds muscle memory for convergence, improves line confidence, and forms the foundation for furniture, buildings, and every complex form in perspective drawing.
2. Sketch Rooms From Real Life
Sit in a corner and sketch your bedroom, kitchen, or classroom in one-point perspective, noting where the horizon falls. Measure door heights, window spacing, and furniture depth against each other. Drawing from life teaches you to simplify clutter into boxes and to see real convergence, which transfers directly to imaginative perspective drawing work.
3. Practice Ellipses And Cylinders In Space
Draw bottles, cups, and lamps as cylinders inside perspective boxes to learn how circles appear as ellipses at different heights. Place them above and below eye level to observe opening changes. This exercise improves still life, vehicles, and character props, and it sharpens your control of curved forms within structured perspective drawing.
4. Copy Photos With Grid Overlays
Find clear street photos, overlay a horizon line, and trace vanishing lines to locate vanishing points accurately. Then redraw the scene freehand without tracing. Analyzing photos reveals how professionals compose depth, handle overlapping buildings, and manage scale, giving you reliable references for original perspective drawing creations.
5. Draw Stairs And Sloped Forms
Stairs, ramps, and roofs challenge beginners because they combine horizontal and diagonal convergence. Break stairs into stacked boxes, then connect step corners diagonally. Practicing slopes teaches you to subdivide depth evenly and handle complex architecture, making your towns, houses, and interiors far more convincing in perspective drawing.
6. Keep A Perspective Sketch Journal
Dedicate ten minutes daily to quick thumbnails of streets, objects, or imagined rooms using light construction lines. Date each page and note what worked. Over weeks, you will see cleaner convergence and better proportions. Consistent journaling turns perspective drawing from a difficult theory into an automatic and enjoyable visual habit.
Common Perspective Drawing Mistakes To Avoid
Most perspective errors come from rushing construction. Recognizing these pitfalls early will save you hours of correction.
1. Placing Multiple Horizon Lines Accidentally
Beginners often shift the horizon higher or lower midway through a drawing, which makes objects appear to float or tilt unnaturally. Every object in the same scene must share the same eye level unless you intentionally change viewpoints. Lightly mark your horizon first and check all major edges against it throughout your perspective drawing process.
2. Forgetting To Converge Parallel Edges
A common error is drawing receding sides as parallel instead of angling them toward a vanishing point, which flattens boxes. Even small divergence breaks realism quickly. Always project back edges with a ruler during practice, and visually compare their slopes until correct convergence becomes intuitive in your everyday perspective drawing sketches.
3. Making Vertical Lines Slant Unnecessarily
In one and two-point perspective, vertical edges should remain truly vertical, yet beginners often tilt them. This makes buildings look as if they are falling over. Use the edge of your paper as a reference and check with a ruler. Keeping verticals straight will instantly stabilize your structures in perspective drawing.
4. Putting Vanishing Points Too Close Together
When vanishing points sit too near the object, corners become extremely sharp and distorted like a wide-angle photo gone wrong. Spread points well outside your composition for natural results. If working on small paper, imagine points off the page and use a longer ruler to maintain gentle, believable angles in perspective drawing.
5. Skipping Light Construction Lines
Many learners draw dark final lines immediately, which makes fixing angle errors difficult and messy. Light guides let you test proportions, adjust depth, and erase cleanly. Embrace a two-stage process with faint structure first and bold confirmation later to keep your perspective drawing accurate, flexible, and stress free.
6. Adding Details Before Structure Is Correct
Adding windows, textures, and shading onto a faulty box only emphasizes the underlying mistake. Always confirm that major masses converge correctly before decorating surfaces. A simple checklist for horizon, vanishing points, verticals, and proportions will prevent wasted effort and strengthen the foundation of each perspective drawing you finish.
Best Practices For Perspective Drawing Growth
These habits help beginners progress faster and retain skills longer than random sketching alone.
1. Start Simple And Increase Complexity Gradually
Master single boxes before attempting streets, interiors, or cityscapes with dozens of forms. Each success builds spatial judgment for the next level. By layering difficulty slowly, you avoid frustration and develop reliable instincts that make advanced scenes feel manageable in your ongoing perspective drawing journey.
2. Draw Lightly And Refine In Layers
Begin with faint lines for horizons, vanishing points, and major masses, then gradually darken only the correct edges. Layered drawing keeps corrections easy and final art clean. This patient workflow reduces fear of mistakes and encourages experimentation, which is essential for steady improvement in perspective drawing.
3. Measure Proportions With Sighting Techniques
Use your pencil at arm’s length to compare heights, widths, and gaps between objects before committing them to paper. Check how many heads tall a door is or how stair steps subdivide. Active measuring prevents guessing and trains accurate proportion sense that supports every aspect of perspective drawing realism.
4. Study Real Buildings And Interiors Often
Photograph streets, observe ceiling corners, and notice how tables narrow with distance during daily life. Ask where the horizon sits and where lines converge. Real-world observation connects theory to vision, so your invented scenes feel truthful rather than mechanical in future perspective drawing projects.
5. Use Reference Grids But Avoid Overdependence
Printed or digital perspective grids speed up practice and ensure accuracy while learning. However, regularly draw freehand without them to internalize judgment. Alternate between guided and unguided studies so tools support learning instead of becoming a crutch that limits your independent perspective drawing confidence.
6. Review And Correct Old Sketches Regularly
Revisit drawings after a few days with fresh eyes to spot tilted verticals, wrong convergence, or inconsistent horizons. Redraw problem areas correctly beside the original. This reflective loop turns errors into lessons and visibly tracks growth, keeping motivation high throughout your perspective drawing practice.
Advanced Perspective Drawing Tips For Better Results
Once basics feel comfortable, these refinements will add polish, speed, and creative control to your work.
1. Combine Perspective With Strong Composition Choices
Place horizons high for expansive ground detail or low for towering drama, and use leading lines to guide viewers toward focal points. Thoughtful cropping and foreground framing add storytelling power. Merging compositional design with accurate structure elevates technical perspective drawing into compelling artwork that holds attention longer.
2. Learn To Divide Depth Evenly And Accurately
Use diagonal bisection to split receding walls, fences, and stair runs into equal perspective intervals without guessing. Draw an X across a plane to find its true center in depth. This classic technique ensures evenly spaced windows, tiles, and posts, giving your perspective drawing a professional and orderly appearance.
3. Add Light Shadow And Texture For Realism
Consistent lighting reveals volume on boxes and interiors through cast shadows that also follow perspective rules. Vary line weight to push near edges forward and soften distant details. Thoughtful shading transforms wireframe guides into solid, touchable forms and completes the illusion of deep space in perspective drawing.
4. Practice Drawing People Inside Environments
Place simple figures at different depths using horizon-based eye levels to keep heights consistent across the scene. A standing person’s eyes generally align near the horizon. Integrating characters correctly prevents floating or giant figures and proves your mastery of scale within believable perspective drawing settings.
5. Experiment With Unusual Viewpoints Creatively
Try worm’s-eye views under bridges, bird’s-eye views over rooftops, and tilted Dutch angles for cinematic energy. Extreme views test your grasp of three-point convergence and foreshortening. Controlled experimentation expands versatility, helping you choose the most expressive camera angle for each story in perspective drawing.
6. Build A Personal Reference Library Over Time
Collect photos of doors, stairs, streets, and interiors organized by angle and lighting for quick study. Sketch small thumbnails from them during warm-ups. A curated library speeds up problem solving, inspires original scenes, and provides dependable visual proof when imagination alone cannot resolve a tricky perspective drawing challenge.
Frequently Asked Questions
How Long Does It Take To Learn Perspective Drawing
Most beginners see clear improvement within four to eight weeks of daily fifteen-minute practice. Mastering two-point interiors may take a few months, while confident cityscapes can take longer. Consistent drills, life observation, and regular correction matter more than total hours spent drawing.
What Is The Easiest Perspective For Beginners To Start With
One-point perspective is easiest because it uses a single vanishing point and front-facing shapes. You can draw hallways, roads, and simple rooms quickly while learning horizon control. Once comfortable, move to two-point views for corner angles and more realistic object rotation.
Do I Need Math Skills To Learn Perspective Drawing
You do not need advanced math, only basic measuring, dividing, and comparing proportions visually. Diagonal methods handle even spacing without calculations. Focus on observation, straight lines, and consistent convergence rather than formulas, and your spatial accuracy will improve naturally.
Can I Learn Perspective Drawing Without A Ruler
Yes, but a ruler helps early accuracy and trains your eye faster. Start with guided lines, then gradually practice freehand boxes to build steadiness. Many artists switch between ruler construction for architecture and loose hand lines for sketching once fundamentals feel solid.
Why Do My Drawings Still Look Flat Or Tilted
Flat results usually come from missing convergence or inconsistent horizons, while tilted looks stem from slanted verticals. Check that all depth lines aim at shared vanishing points and verticals stay upright. Light construction, photo analysis, and redrawing faulty boxes will quickly fix these issues.
Should I Learn Perspective Before Figure Drawing Or Color
Learning basic boxes and one-point rooms first makes figure placement, backgrounds, and lighting much easier later. You do not need mastery before exploring other skills. Study perspective alongside gesture and value so all abilities grow together and support more complete artwork.
Conclusion
Learning perspective drawing is a step-by-step journey built on horizons, vanishing points, simple boxes, and daily observation. By starting with one-point views, practicing core drills, avoiding common mistakes, and applying best practices, you will steadily create deeper and more believable scenes.
Stay patient, keep a sketch journal, review old work, and enjoy small wins along the way. With consistent practice and curiosity, perspective will shift from confusing theory to a natural tool that strengthens every drawing you make.